Showing posts with label Asian Inspired. Show all posts

Monday, 14 May 2012

Jasmine Cream Tea Mousse Cake With Chocolate Chiffon


This cake was for a friends birthday. What better present than a cake.

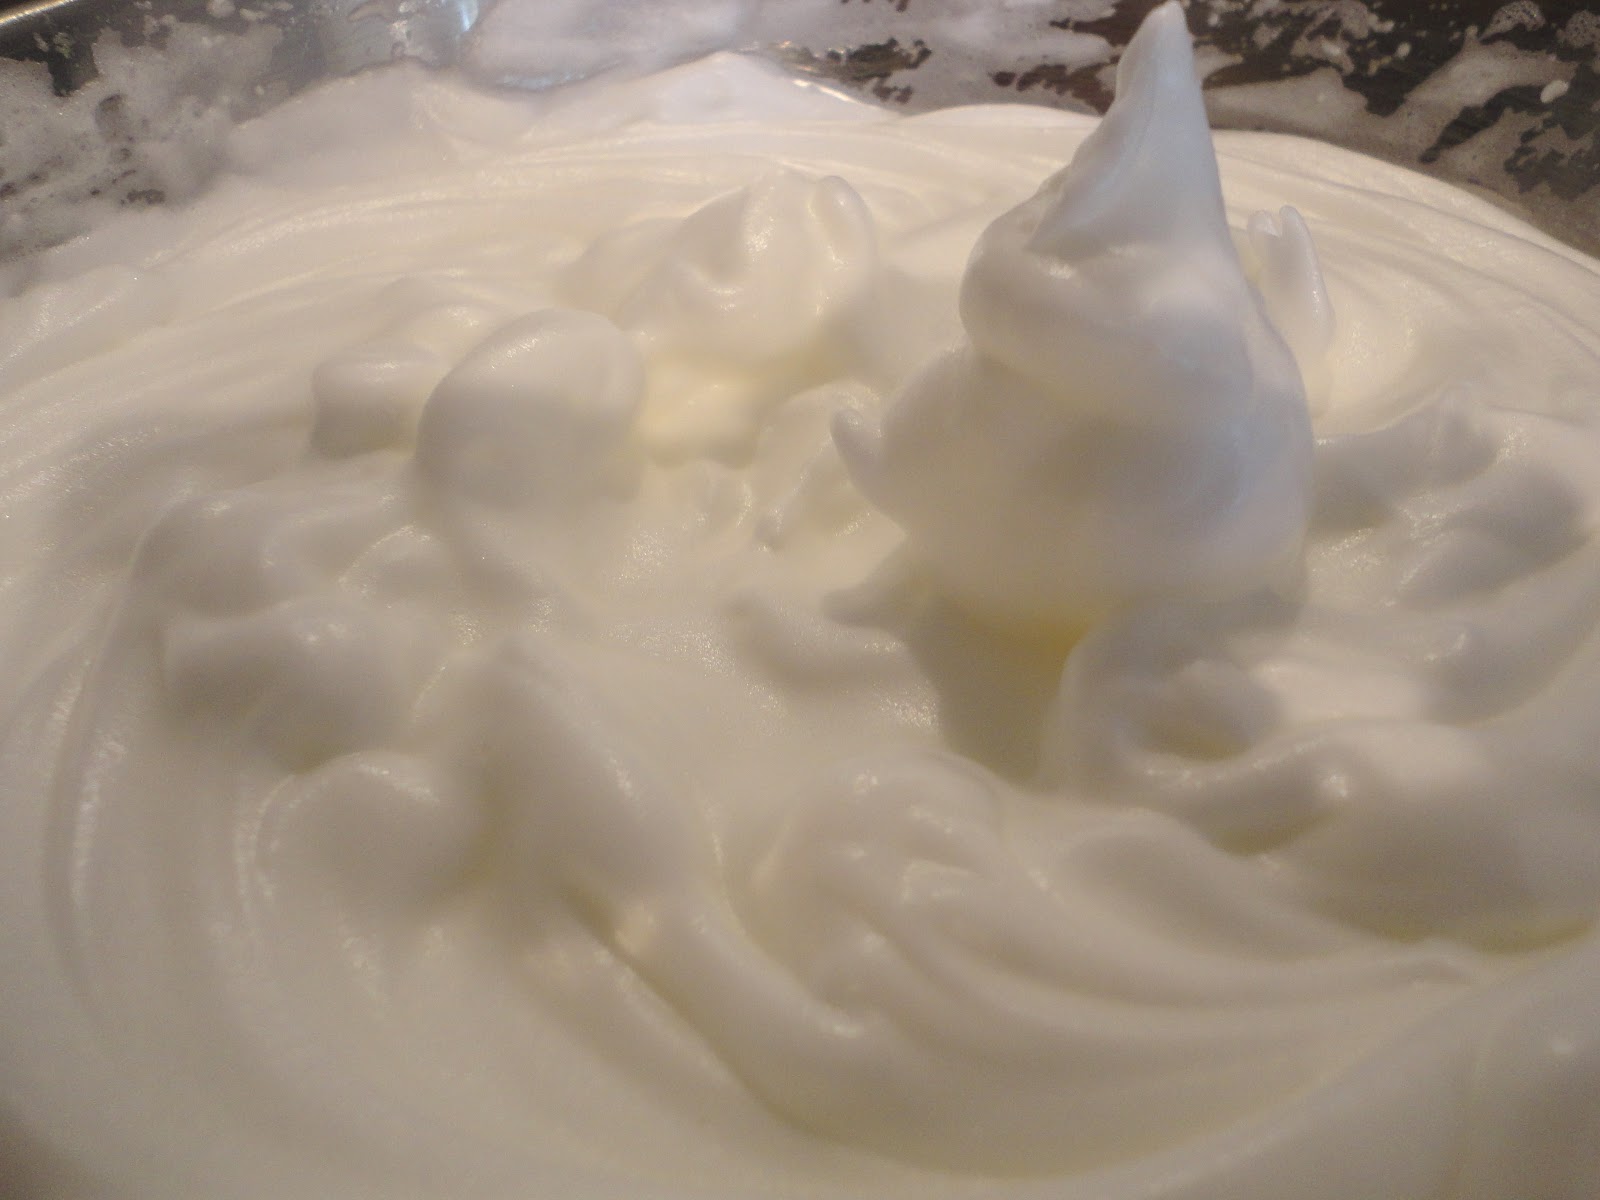
When I set about making the cake I never intended it on being a mousse cake; I was actually planning on coating it in jasmine tea whipped cream, however when the cream doesn't whip you go about making mousse cake, voila, and no one will ever know! I have my flat mate to thank for saving the cake as she was the one who told me this rather nifty little mousse cake trick. Basically I think that the cream didn't whip to stiff peaks because I may have heated it too much when infusing the jasmine tea, so be sure to remove it from the heat just before it starts to simmer.

Even tough this cake has a lot of cream, it actually tastes quite light and was a real contrast to the other very chocolate cake which we had. What surprised me was that people kept asking me how I got the cake soo smooth on the sides, and how everything was soo even; if only they knew how easy it was and the real story behind it, they may not have been so impressed! As the saying goes 'when life gives you lemons make lemonade' or mousse cake is just as good.


Recipe

Ingredients

Chocolate Chiffon
2 cups plain flour
2 1/2tsp cream of tartar
1tsp baking powder
1tsp bicarbonate of soda
2tbsp cocoa powder
pinch of salt
6 medium eggs separated
1/4 cup sugar
1cup water
1/2 cup oil (I used sunflower, you can also use canola)
1tsp vanilla extract

Jasmine Tea Mousse
1136ml double cream
5tbsp jasmine tea (add more if you want a stronger flavour)
6tbsp icing sugar
2 1/2 sachets gelatine powder
75ml hot water
Optional chocolate flakes/chocolate chips

Method

Chocolate Chiffon
1. Preheat oven to 160C.
2.Sieve the dry ingredients into a bowl and mix (flour, 2tsp cream of tartar, baking pwdr, baking soda and salt).
3. Beat the egg yolks, sugar, oil, vanilla essence and water.
4. Add the egg mixture to the flour and mix well till smooth and even.
 
5. Whisk the egg whites. Add 1/2tsp of cream of tartar when the mixture is starting to become light and frothy. Whisk till stiff peaks form.
6. Add the chocolate mixture to the egg whites and carefully fold in trying to keep as much air in the mixture as possible.
 7. Pour this mixture into a cake pan and bake for around 1hr till a knife through the centre of the cake comes out clean. When you take the cake out of the oven let it cool upside down on a wire rack.

Jasmine Tea Cream Mousse
1. In a pan heat the cream, jasmine tea, and remove from the heat just before the mixture comes to the simmer.
2. Strain the mixture and leave to cool to room temperature. Then place in the fridge for a few hours to chill.
3. When cool, whip the cream with the icing sugar till it is 3/4 done (soft peaks, not stiff peaks).
4. Do this stage when you are just about to assemble the cake: make the gelatine mixture by adding the gelatine powder to the hot water and mix till it is is all dissolved. Add this mixture to the whipped cream and combine. 

Assembly
1. Cut away excess cake to make the cake even and flat on all sides.
 2. Cut the cake in half.
3. Make the diameter of the cake smaller so that it is smaller that the cake pan (I took around 2cm from the sides). Place 1 layer of cake in the middle of a cake pan with the base lined with baking parchment or tinfoil.

4. Pour in the jasmine cream tea mixture so that it covers the sides and 0.5-1cm above the chocolate cake. Sprinkle some chocolate flakes/chips only above the cake (not the sides). Chill in the fridge for 10mins.
5. Now place the second layer of cake on top of the base layer. Pour the rest of the cream mixture over the cake and around the sides. You can cut the cake and make it shorter if you think there will not be enough cream mixture to fill everything. 
6. Chill in the fridge for at least 3-4hrs, preferably overnight. To remove the cake from the pan, just carefully push the base up (or open up the pan slowly if its spring-form).
 7. Decorate as you wish.


Source:
Chocolate chiffon cake: Nigella


A post from Fullest of Life

Thursday, 22 March 2012

'The Emma-Lily': A Rose, Lychee and Raspberry Chiffon Cake


Have you ever eaten a cake with this combination of flavours before? Well I certainly havn't, and who knew it would work out so well; we were all surprised. I made this cake for my best friend's (aka the flat mate) birthday, and I guess she was my inspiration. When I make birthday cakes I like to add a bit of something from the person I am making it for, be it their favourite flavour, colour, or even a little bit of their personality in an edible form of course. So this cake really is like my best friend encapsulated in one bite: sweet, light, pretty and fruity. She loved it. When I was browsing through recipes I stumbled upon a blog called 'The Pleasure Monger' and I can't recommend it enough. I used a combination of recipes to make this cake. I really loved her take on the 'Ispahan' cake inspired by Pierre Herme (one of my favourite patisserie chefs, the other being Hidemi Sugino). Whilst I was drooling at the beautiful photos of this cake I just knew that I wanted to do my own take on it, but on a bigger scale to make more fitting for birthday celebrations. I know that Herme loves to do things in mini portions, but the bigger the better right?! Well at least there would be more to share.

 
The recipe is a combination of various recipes which have been played around a little bit. I experimented with things like the jelly and the creme mousseline, as I've never added anything like that to a cake before and I can tell you that this is just the start of something new. I love creme mousseline, it's so much better than filling the cake with just normal whipped cream or butter cream! Chiffon cake is another thing which I was 'experimenting' with as I have never made it before so didn't really know how to handle the cake or even how to make it in the first place; thank heavens for instructions which I solemnly follow to a tee. I am now a chiffon cake lover, they are just soo light and fluffy that it is actually quite easy to finish of a whole cake without much effort. Also I consider them healthier than normal cake as they contain less sugar and not too much oil; it's the  whipped egg whites which transforms the cake from the ordinary to the extraordinary.

Rose and lychee are unusual flavours to use in cakes and you don't come across them too often. Some of you may be wondering how exactly I incorporated these flavours into the cake, well the 2 secrets are rose syrup and a can of tinned lychees. If you can't find rose syrup use rose water and add a bit of red/pink food colouring to it, and if you don't have rose essence just dilute the rose syrup with some water. I don't know how easy it is to get hold of lychees either fresh or tinned but they sell both in the supermarkets here in the UK, you just have to look. I thought that by adding both flavours to the cake that one of them may be a bit washed out but to my surprise you could definitely taste both, definitely the rose in the creme chantilly and the lchee in the creme mousseline and in the centre of the cake; the perfect balance of flavours. And the raspberries and strawberries did their job well too by not only looking pretty but also adding that extra sharp fruity hit to the palate in contrast to the creamyness of the rest of the cake. For those people who don't like overly sweet cakes this was definitely not too sweet, which in a way is bad as it means you can eat more and more and more of the cake without feeling too sick.

This recipe makes a fabulous birthday cake and if you have a day to spare why not spend it making this beauty of a cake, your tummy for sure won't regret it. The cake weighed at least 2-3kg and just about fit in the fridge luckily and it was a bit of a challenge finishing it. Luckily (or not so luckily some may argue :-p) we shared it with a few friends and devoured it in about 2 days. Those 2 days our diets literally consisted of cake, and we were definitely sad to see it all go. I'll just have to make it again.

Recipe:

Rose Chiffon Cake

Refer to this recipe from Evan's Kitchen Ramblings.

Lychee Chiffon Cake

Refer to this recipe from The Pleasure Monger for the cake batter. Don't add the food colouring and use the liquid in the can of tinned lychees instead of fresh lychee juice (unless you happen to have fresh lychee juice).

Creme Mousseline

Refer to this recipe from The Pleasure Monger and double the quantities. I didn't have lychee liqueur so I added the same quantity of lychee juice as a substitute.

Ispahan Jelly


Adapted from this recipe.

140g water
3 tablespoon canned lychee juice
1/2 tbsp rose syrup
10g sugar
8 raspberries crushed
5g gelatin sheets softened in cold water
1tsp red food colouring

Add all the ingredients except the gelatin sheets into a saucepan and bring to a simmer. Then take the saucepan off the heat and add the softened gelatin sheets and mix well. Now sieve the mixture so that it is clear. Pour into a tin foil lined circular tin which is slightly smaller than the chiffon cake tin. Leave to cool a bit. Leave in the fridge for at least 5-6 hours until it is set and jelly like. 

Rose Creme Chantilly

750ml double/whipping cream
3tbsp icing sugar
1 1/2 tbsp rose syrup
a few drops of red food colouring

Add all the ingredients to a mixing bowl and combine. Whisk the cream till stiff peaks form (be careful not to over-whip the cream). You can adjust the flavour according to your taste such as adding more rose syrup or adding more or less sugar.

Vanilla Creme Chantilly 

150ml double/whipping cream
1/2tbsp icing sugar
a few drops vanilla essence

Add all the ingredients to a mixing bowl and combine. Whisk the cream till stiff peaks form (be careful not to over-whip the cream).

Extras
Lychees- either fresh or tinned lychees
Raspberries to go inside the cake and on top for decoration
Strawberries for decoration


Assembly:

1. Trim off the outer layer on the chiffon cakes as the brown will show when you slice the cake. In hindsight I should have trimmed literally all the sides and not just the top layer. Make sure both cakes are even and of the same size. Place the base cake layer on a cake board so it saves you transferring the cake later.

 2. Cover the bottom cake layer (I used the rose chiffon as the base) with some creme mousseline.
 3. Add whatever fruit you want in the middle or none at all. I first added a ring of raspberries.
4. Then I filled the centre with some lychees.
5. Pipe some more creme mousseline on top.
6.Smooth over the creme mousseline making sure it enters all the gaps and covers the raspberries on the sides. Place in the fridge whilst you do the next bit so that the creme mousseline hardens a bit.
7. Make a hollow in the middle of the top layer of cake (I used the lychee chiffon for this) which is the same size as the Ispahan jelly container.
8. Carefully add the Ispahan jelly into the hollow. If it the jelly breaks it's not the end of the world, don't worry, it's in the center so people won't notice so much.

9. Place this top layer of cake on top of the base so that it is jelly side face down. Patch up the sides with any left over creme mousseline so that it's even and smooth.
10.Now start adding the rose creme chantilly onto the cake. Spread with a palette knife.
 
11. Keep smoothing it over until it is as perfect as you can get it.
12. Pipe the vanilla creme chantilly onto the cake as a ring of small peaks.
13. Add raspberries on top of the vanilla creme chantilly peaks.
 14. Slice some strawberries and add to the centre of the cake. Serve the cake as soon as you can whilst it's fresh. Otherwise you can put it in the fridge for a few days (I don't know how long as it was all gone in around 2 days), but be warned the strawberries will dry out unless you put a glaze on them.

Sources:
The Pleasure Monger
Evan's Kitchen Ramblings 


A post by Fullest of Life

Tuesday, 6 September 2011

Singaporean Style Fried Rice


The best Singaporean noodles which I have had have been at a restaurant named 'Wong Ting' and I tried to recreate them at home however as of yet I am still in search of that exact recipe. I was browsing the Internet for various Singaporean noodle recipes and I stumbled upon 'BBC Good Food's' recipe and since it had good ratings I thought I would give it a shot. I didn't have enough noodles however I did have a big pot of cooked rice in the fridge so I improvised and came up with my version of Singaporean fried rice and I have to admit that it was pretty darn good; lots of flavour, colour and very satisfying. I have a thing for rice dishes, and my favourites being Indian biryani, Spanish paella, Italian risotto, Japanese sushi (well it has rice in it), and I guess I can now add Singaporean style rice to the continental list too.

Serves: 4-8 (Depending on portion size)
Time: 20mins

Ingredients:
2 cups cooked Jasmin rice (better to use cold rice that is more than a day old)
1 1/2 medium onions cut into thin crescents
4 cloves garlic
1cm of ginger
1/2 grated carrot
1 pepper sliced finely
10 button mushrooms sliced finely
300g bean sprouts
handful of coriander
4 eggs beaten
20 king prawns
1 tsp chili powder
1 tsp turmeric powder
4 tbsp curry paste or 4 tbsp curry powder (add less and adjust according to taste)
4 tsp soy sauce
1/2 tsp chili flakes
1/2 lemon or 1 lime
olive oil
sesame seed oil
salt to taste
2 tbsp water
1 chili  finely sliced for decoration

Method:
1. In a wok heat around a tablespoon of olive oil and a teaspoon of sesame seed oil and add the prawns to it. Fry till cooked and remove from the wok.

2. Add 3 tbsp of olive oil and 1 tsp of sesame seed oil to the wok and heat. Add the ginger and garlic till slightly brown and then add the onions, peppers and mushrooms. Once they start to soften add all of the dry spices including the curry paste/powder and fry for a minute or so.

3. Add the bean sprout and the grated carrot, soy sauce and water. Fry for a few minutes depending on how raw you like your vegetables.


4. Add the rice and mix with the vegetable mixture (add salt at this point) until well combined. Also add a handful of chopped coriander and mix well.

5. Add the beaten eggs to one side of the pan and stir till they are scrambled and cooked thoroughly.


6. Mix the scrambled egg into the rice. Season the rice with more salt if needed.

7. Add the prawns to the rice and mix.

8. Remove from the heat and garnish with a few pieces of lemon or lime wedges (or alternatively you can just mix the juice of half a lemon/lime into the rice) and coriander leaves and fresh thinly sliced chilies. 

Suggestions:
1. You can use what ever vegetables you have lying around in the fridge.
2.  You can also add chicken or pork to the dish.

A post from Fullest of Life


Saturday, 20 August 2011

A Lesson in Sushi Making


I love sushi and have eaten it is many restaurants, however I thought I would attempt to make my own; the first time I made it they were half falling apart, and this is the second time I made it with a much better result. I was first introduced to sushi 2 years ago by my best friend, Emma-Lily, at first I only ate vegetarian sushi as I couldn't get my head around eating raw fish, however eventually I braved myself to try the real thing and I  was surprised as it didn't taste as fishy as I thought it would, and this was the moment that I fell in love. The fresher the fish the better the sushi. I found that sushi is an acquired taste and the more you eat the more you like it. The addiction to sushi started when Emma-Lily made an array of beautiful sushi for my surprise birthday 2 years ago and I was blown away by how amazing they looked and how tasty they were. Ever since I have been having occasional sushi cravings.


Sushi is so versatile and you can put literally what ever you want in the middle, from normal things like fish, tempura and vegetables to more unusual things like big macs (yes it has actually been done). I think that wasabi and soy sauce are a must with any sushi, especially wasabi as it's that flavour that I associate with sushi. Not everyone likes wasabi tough as they find it too strong and hot, on the other hand that is exactly the reason why I love it- for the punch through the nose it gives you (really clears your sinuses) and the clean, refreshing taste afterwards, the good thing is that the heat is different from the spiciness of chillies and lasts only temporarily.

Well made sushi can look like a piece of art, and you can be creative as you like in decorating it, from elaborate designs to the plain and simple- they all look good as sushi is a naturally pretty food. You can use toppings such as mayonnaise, chili flakes and caviar (fish roe). Sushi is most striking when presented in straingt lines and on a plain background like white plates.


I made a video to show my attempt at sushi making in a way that anyone can have a go at it. In the video I have shown how to prepare sushi rice, maki sushi, California roll and nigiri sushi using simple techniques. You can vary the fillings to suit your own taste, ideas are: avocado, cucumber, smoked salmon, boiled king prawns, crab sticks, fresh raw fish (salmon and tuna work well), tempura, peppers, omelette, and the list can go on and on. Have fun with the sushi making and don't be afraid to experiment.


A post from Fullest of Life