Wednesday, 2 May 2012

Chocolate Flourless Soufflé


I've been meaning to make a soufflé for a while now, and the chocolate ones I made definitely fit the bill. I looked up a few recipes and most of them used flour and butter, and had a long ingredient list, however I like to keep things simple, and also the fact that I only had a teaspoon of butter remaining in the fridge, made me choose a recipe I found on prestat. When you make a molten lava cake you want the centre to be cooked to gooey perfection, similarly with soufflés it's all about the perfection in getting it to rise aswell as it being light and airy. I've not made loads of soufflés before but when I have, I've had a 50:50 success rate; it may come out perfectly one time, but the next time I make it, it just seems to fall flat, luckily this attempt was a success, so I reckon this is a fairly safe recipe to use, even for the novice soufflé makers out there. I was surprised at how light this soufflé was, and it was chocolately but not 'rich' which actually made it taste kindda healthy dare I say, and I just wish that I had some cream or ice-cream to eat it with; that would literally be heaven on a spoon. Unlike with most other baked goods you have to eat soufflés as soon as they come out of the oven (yay!), and these soufflés kept their height for a good few minutes which was rather impressive, but don't despair if they go cold because I found out that they are just as delicious when chilled in the fridge.


Preparation time- 30mins
Serves- 4

Recipe

Ingredients:
100g plain chocolate
3 eggs separated
50g caster sugar
butter to grease ramekins

Method:
1. Preheat the oven to 200C. Grease 4 ramekins with the butter, then coat with the sugar.

2. Melt the chocolate by either placing on a double boiler or by microwaving it (be careful not to burn the chocolate).
 3. In a bowl whisk the egg yolks and remaining sugar until it becomes light and pale in colour.
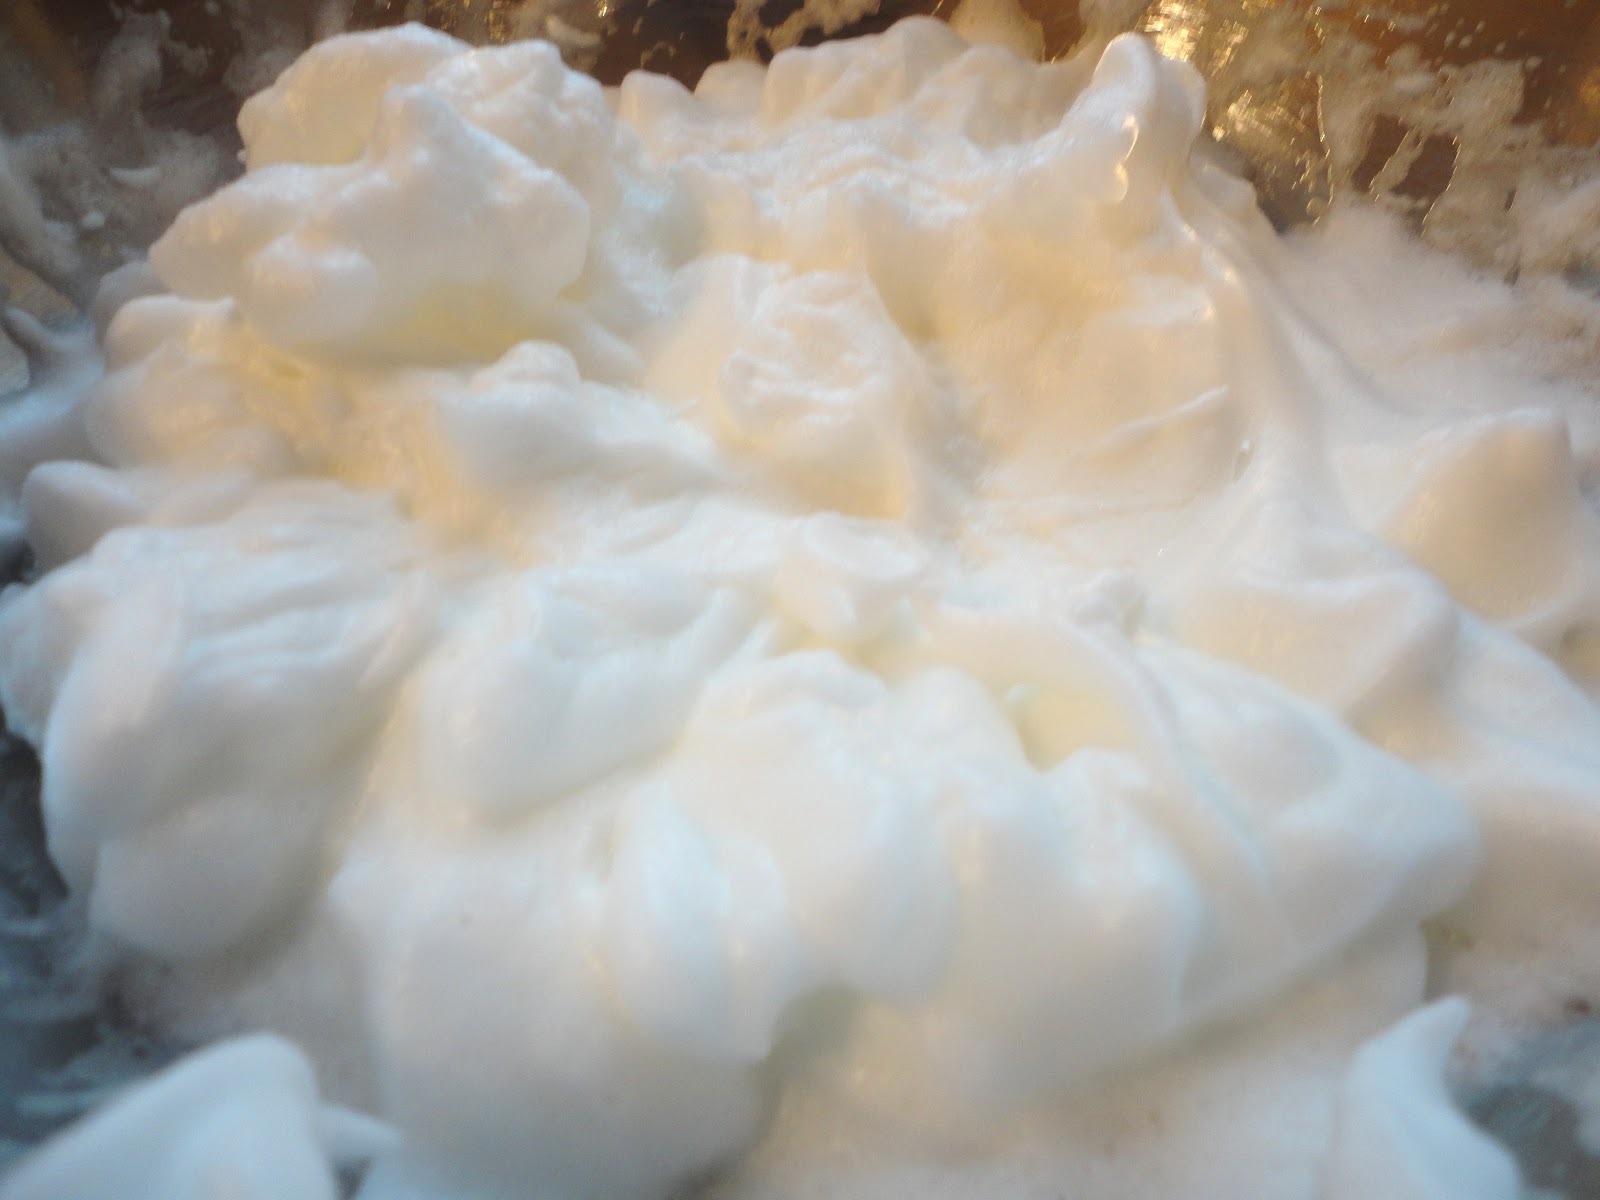
 4. In a separate bowl whisk the egg whites (make sure that you thoroughly wash and dry the wisk so there is no egg yolk or water left on it) until stiff peaks form.
 5. Pour the melted chocolate into the  egg yolk mixture and whisk in quickly.
 6. Add half of the egg whites and fold in, then fold in the remaining (try to keep as much air in the mixture, and don't mix it too much).
 7. Carefully fill the ramekins with the chocolate mixture, try not to get the mixture all over the sides as this will affect the rising of the soufflé.
8. Bake for 15 minutes.
9. Eat immediately!

Source:
Prestat


A post from Fullest of Life

Sunday, 15 April 2012

Chocolate Oreo Cream Cake


Who doesn't love a good chocolate cake? And who doesn't love Oreo biscuits? I know that I'm a BIG fan of both! I've found a great and dare I say it 'fool proof' chocolate cake recipe which is simple, moist and reliable. I've made this recipe at least 4 times now in the space of a few months which is saying something! I think that the secret ingredients to this cake are buttermilk, which makes the cake moist, and coffee which brings out the rich chocolaty flavour (you can't taste the coffee in the cake). The finished result from the pictures you can see above was made in 3 stages over 3 days , and you can decide to skip out stage 2 or 3 of course:
1. Make the chocolate cake
2. Add buttercream and cream icing
3. Decorate

One major problem that I came across was the fact that the cake wouldn't fit in the fridge! Our  fridge is always packed to the brim and trying to fit a cake in is always a challenge, and we always end up repacking the whole fridge. So bear this in mind and decide on a more suitable sized cake, or try and make it all in one day before you want to serve it, or don't add the whipped cream icing (buttercream filling is fine out of the fridge tough). I'm not going to ask Santa for a new fridge (I don't think it would fit down the chimney), but something I do wish I had is a kitchen aid mixer; it would be so easy to just put everything into one bowl and let the machine do the work. But I guess on the brighter side my biceps definitely benefited from all the whipping and whisking! For all of you who also don't have a kitchen mixer I've proved that you make this cake without it, so no excuses.
 

I made this cake for a friend's birthday, and I'm glad that there were quite a few people to help finish the cake, however the cake defeated us even tough there were around 15 people. So if you want to make this cake, make sure you have people to share it with, and lots of them for that matter. One last tip for making this cake is to buy an extra pack of Oreo biscuits: you'll definitely be tempted to have 'one or two' biscuits whilst making the cake, and you don't want to end up with the situation where you have none left for the decoration!

Recipe

Ingredients:

Chocolate Cake
3 1/2 cups plain flour
1 cup cocoa powder
4 cups caster sugar
4 tsp bicarbonate of soda
2 tsp baking powder
2 tsp salt
4 eggs
1 cup oil (I used sunflower as it won't affect the flavour of the cake)
2 cups buttermilk (or you can use 1 1/2 cups plain yogurt mixed with 1/2 cup milk)
2 cups brewed coffee (use hot water)

Oreo Buttercream Filling
1 1/2 blocks (375g) of unsalted butter  at room temperature
2 tsp vanilla bean paste (or use the same quantity of vanilla essence)
4-5 cups of icing sugar (depending on your preference of sweetness and consistency)
1/2 pack (around 7 Oreos) of a 154g packet of Oreos crushed

Oreo Cream Icing
368mls double cream (x2 of 184ml cartons)
1 tsp vanilla bean paste
1/3 cup icing sugar
1/2 pack (around 7 oreos) of a 154g packet of Oreos crushed

Vanilla Cream Icing Peaks

200mls double cream
3 tbsp icing sugar
1/2 tsp vanilla bean paste

Optional Extras

Oreo biscuits to decorate (you can get mini and regular sized biscuits)


Method: 

Chocolate Cake

You can make this cake mixture in 2 batches (just half the recipe for each batch) if like me you don't have a mixing bowl big enough to fit all the ingredients.

1. Preheat the oven to 180C.
2. Combine all the dry ingredients in a mixing bowl and mix well.
 3. Mix the oil, buttermilk and eggs together. Slowly add this to the dry ingredients and whisk.
4. Slowly mix in the brewed coffee until the mixture is smooth.
5. Divide the mixture equally into 4 cake tins which have been lines with greaseproof paper (or if you don't have 4 tins just bake in batches)
6. Bake for 35-45mins until a knife stuck in the middle of the cake comes out clean. Allow the cake to cool before handling (otherwise it will fall apart easily).

Oreo Buttercream Filling

1. Beat the butter till it is soft and creamy.
2. Slowly add the icing sugar in batches and whisk into the butter after each addition.
3. Once the right consistency and sweetness is achieved add the Oreo crumbs and blend well.
 

Oreo Cream Icing

1. In a mixing bowl add the double cream, icing sugar and vanilla bean paste. Whisk till still peaks are just about to form.
2. Add the Oreo biscuits and use a spoon to mix into the mixture (be careful not to over-whip the cream).

Vanilla Cream Icing Peaks

1. Whisk all the ingredients till still peaks form; the 'can you put the bowl over your head?' test.


Cake Assembly:

1. Cut the cake layers till they are all flat and even.
2.Place a layer of cake cake board or plate that you want to present the cake on as it will be difficult to move later on.
3. Spread a layer of butter cream on, then add another layer of cake and repeat process till you end up with a 4-tiered cake with 3 layers of buttercream.
4. Use any remaining buttercream to smooth the sides of the cake.

6. Use a piping bag to pipe the vanilla cream peaks onto the cake.
7. Decorate with Oreo biscuits.
8. Chill the cake till serving.


Source:
Chocolate cake adapted from 'Food and Wine'

A post from Fullest of Life


Monday, 2 April 2012

Giant Scotch Eggs


I'm a scotch egg lover. I remember when I was a child my mother used to pack mini scotch eggs in school lunches and I was soo excited whenever I found them in  my lunch box. I'd like to say a special thank you to my mum for my lunches actually, when I think  back to my school days I had awesome lunches filled with lots of snacks and treats that used to make the other kids jealous; no boring old jam sandwiches for me that's for sure.

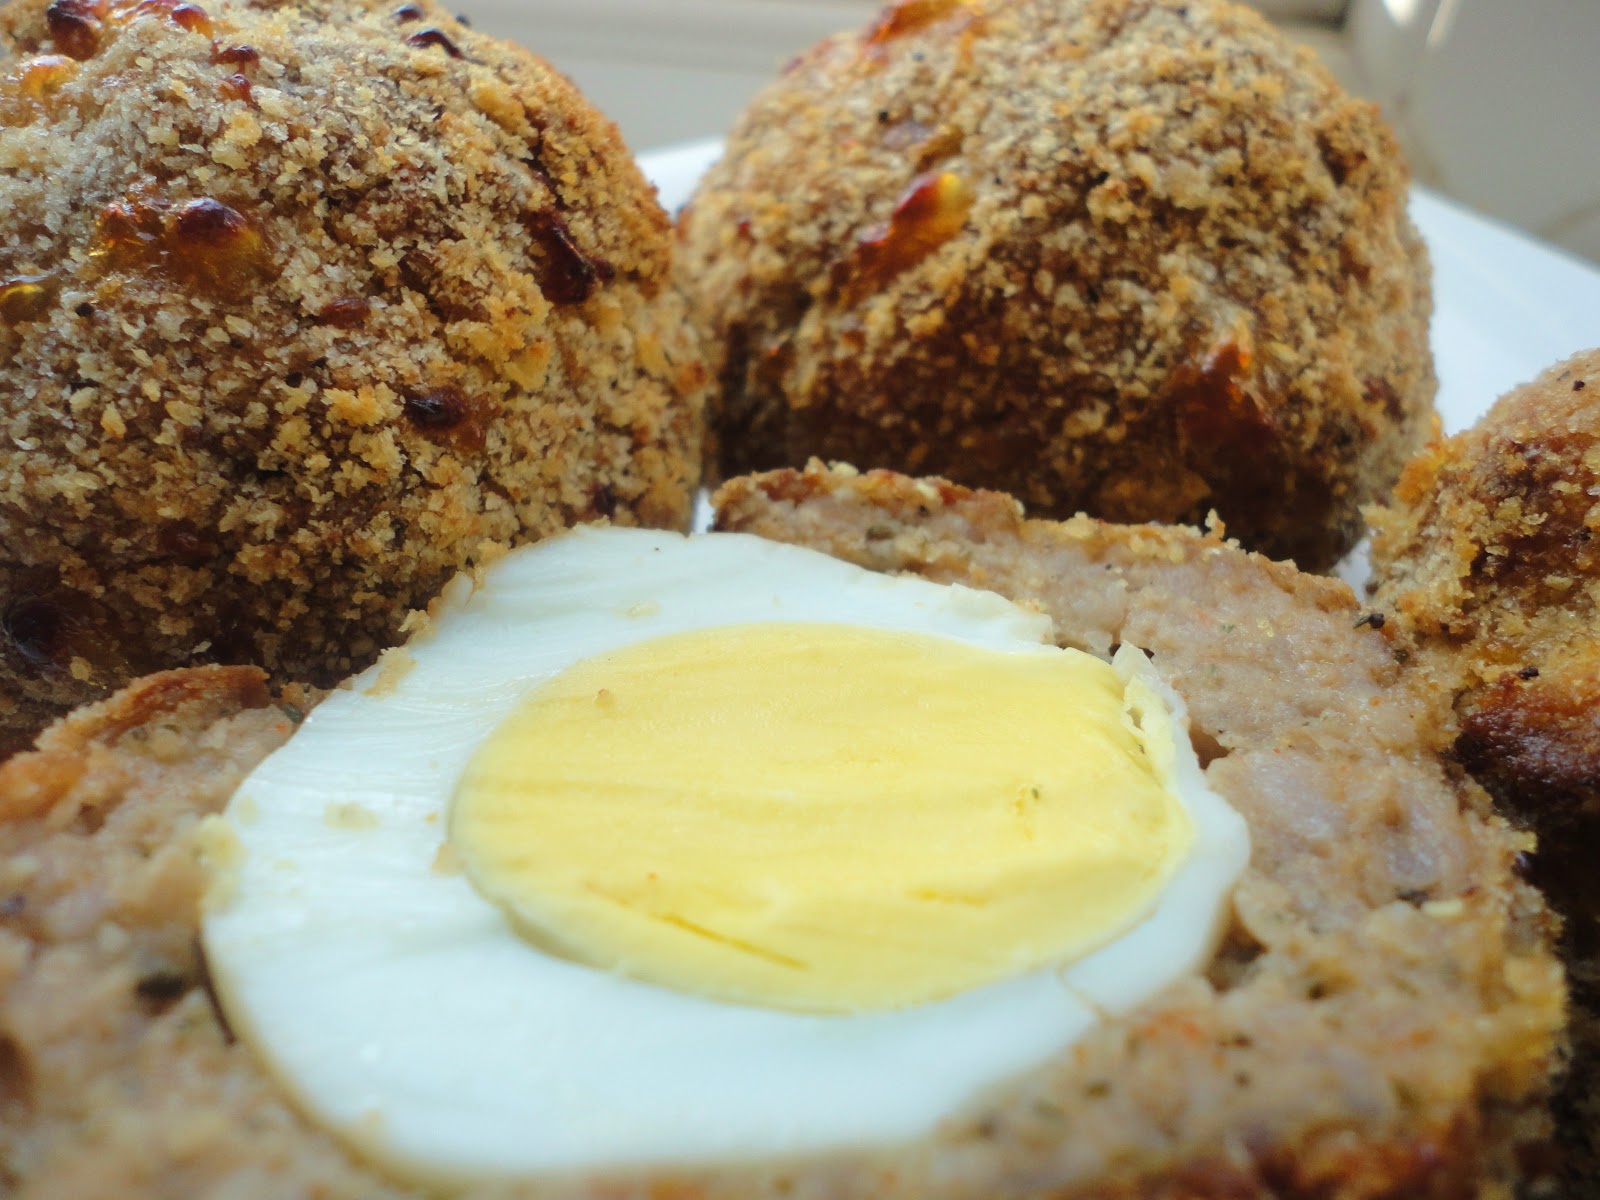
I didn't realise just how easy it was to make scotch eggs until now and it's great because now I can make customised scotch eggs with all sorts of flavours; it's opened a whole new window. Since this was the first time I made them I thought I would stick to fairly basic ingredients. However next time I make them I've got a whole host of flavours I would like to try adding to the humble scotch egg, for example a bit of coriander for a more Indian touch, or maybe some lemon zest, or what about hoisin sauce (honestly I think it would work!). Another good thing about these scotch eggs is that they are baked and not deep fried making them 'healthier'. On the other hand when I baked them the sausage meat on some of them split and I just don't know why; if you know please let me know so I can learn. I've decided that next time I make them I'm going to try mashing up the egg with a bit of mayo and mustard instead of leaving the egg whole to make it more like the ones in the shops, but that's an experiment for another time.

Preparation time: 1 hr 20mins
Makes 6 giant scotch eggs
Recipe:

Ingredients
meat of 10 sausages / 550g sausage meat
6 eggs
seasoning suggestions for sausage meat: onion powder, garlic powder, paprika, Worcestershire sauce, tabasco sauce
1 beaten egg
bread crumbs seasoned with salt and pepper

Method:

1. Get the meat out of 10 sausages. I used Cumberland sausages.
 

2. Season the meat with 1/2tsp each onion powder and garlic powder and 1 tsp paprika. Add a splash of Worcestershire sauce and Tabasco sauce if you want an added kick. Mix into the meat well. Divide meat into 6 portions.
3. Into a pan of simmering water add all the eggs and boil for around 4-5 mins (you only want to partially cook the eggs). Take of the heat and replace the boiling water with cold water to cool the eggs. Remove the shells from the eggs.
4. Now you want to start assembling the scotch egg. Get a sheet of cling film and place a portion of meat onto it. Flatten the meat into a circular shape a little bigger than the eggs. You can coat your fingers with a little oil to stop the meat sticking to your fingers.
 
5. Place the boiled egg onto the meat pattie.
6. Use the clingfilm to help you mould the meat around the egg.
7. Once the meat is all around the egg, twist the top of the cling film to seal off the top.
8. Remove the clingfilm.
9. Dip in beaten egg and coat all over.
 10. Coat evenly in bread crumbs.
11. Arrange on a baking tray and bake at 160C for around 40mins to 1hr depending on your oven.
12. Eat hot or cold.


A post from Fullest of Life

Thursday, 22 March 2012

'The Emma-Lily': A Rose, Lychee and Raspberry Chiffon Cake


Have you ever eaten a cake with this combination of flavours before? Well I certainly havn't, and who knew it would work out so well; we were all surprised. I made this cake for my best friend's (aka the flat mate) birthday, and I guess she was my inspiration. When I make birthday cakes I like to add a bit of something from the person I am making it for, be it their favourite flavour, colour, or even a little bit of their personality in an edible form of course. So this cake really is like my best friend encapsulated in one bite: sweet, light, pretty and fruity. She loved it. When I was browsing through recipes I stumbled upon a blog called 'The Pleasure Monger' and I can't recommend it enough. I used a combination of recipes to make this cake. I really loved her take on the 'Ispahan' cake inspired by Pierre Herme (one of my favourite patisserie chefs, the other being Hidemi Sugino). Whilst I was drooling at the beautiful photos of this cake I just knew that I wanted to do my own take on it, but on a bigger scale to make more fitting for birthday celebrations. I know that Herme loves to do things in mini portions, but the bigger the better right?! Well at least there would be more to share.

 
The recipe is a combination of various recipes which have been played around a little bit. I experimented with things like the jelly and the creme mousseline, as I've never added anything like that to a cake before and I can tell you that this is just the start of something new. I love creme mousseline, it's so much better than filling the cake with just normal whipped cream or butter cream! Chiffon cake is another thing which I was 'experimenting' with as I have never made it before so didn't really know how to handle the cake or even how to make it in the first place; thank heavens for instructions which I solemnly follow to a tee. I am now a chiffon cake lover, they are just soo light and fluffy that it is actually quite easy to finish of a whole cake without much effort. Also I consider them healthier than normal cake as they contain less sugar and not too much oil; it's the  whipped egg whites which transforms the cake from the ordinary to the extraordinary.

Rose and lychee are unusual flavours to use in cakes and you don't come across them too often. Some of you may be wondering how exactly I incorporated these flavours into the cake, well the 2 secrets are rose syrup and a can of tinned lychees. If you can't find rose syrup use rose water and add a bit of red/pink food colouring to it, and if you don't have rose essence just dilute the rose syrup with some water. I don't know how easy it is to get hold of lychees either fresh or tinned but they sell both in the supermarkets here in the UK, you just have to look. I thought that by adding both flavours to the cake that one of them may be a bit washed out but to my surprise you could definitely taste both, definitely the rose in the creme chantilly and the lchee in the creme mousseline and in the centre of the cake; the perfect balance of flavours. And the raspberries and strawberries did their job well too by not only looking pretty but also adding that extra sharp fruity hit to the palate in contrast to the creamyness of the rest of the cake. For those people who don't like overly sweet cakes this was definitely not too sweet, which in a way is bad as it means you can eat more and more and more of the cake without feeling too sick.

This recipe makes a fabulous birthday cake and if you have a day to spare why not spend it making this beauty of a cake, your tummy for sure won't regret it. The cake weighed at least 2-3kg and just about fit in the fridge luckily and it was a bit of a challenge finishing it. Luckily (or not so luckily some may argue :-p) we shared it with a few friends and devoured it in about 2 days. Those 2 days our diets literally consisted of cake, and we were definitely sad to see it all go. I'll just have to make it again.

Recipe:

Rose Chiffon Cake

Refer to this recipe from Evan's Kitchen Ramblings.

Lychee Chiffon Cake

Refer to this recipe from The Pleasure Monger for the cake batter. Don't add the food colouring and use the liquid in the can of tinned lychees instead of fresh lychee juice (unless you happen to have fresh lychee juice).

Creme Mousseline

Refer to this recipe from The Pleasure Monger and double the quantities. I didn't have lychee liqueur so I added the same quantity of lychee juice as a substitute.

Ispahan Jelly


Adapted from this recipe.

140g water
3 tablespoon canned lychee juice
1/2 tbsp rose syrup
10g sugar
8 raspberries crushed
5g gelatin sheets softened in cold water
1tsp red food colouring

Add all the ingredients except the gelatin sheets into a saucepan and bring to a simmer. Then take the saucepan off the heat and add the softened gelatin sheets and mix well. Now sieve the mixture so that it is clear. Pour into a tin foil lined circular tin which is slightly smaller than the chiffon cake tin. Leave to cool a bit. Leave in the fridge for at least 5-6 hours until it is set and jelly like. 

Rose Creme Chantilly

750ml double/whipping cream
3tbsp icing sugar
1 1/2 tbsp rose syrup
a few drops of red food colouring

Add all the ingredients to a mixing bowl and combine. Whisk the cream till stiff peaks form (be careful not to over-whip the cream). You can adjust the flavour according to your taste such as adding more rose syrup or adding more or less sugar.

Vanilla Creme Chantilly 

150ml double/whipping cream
1/2tbsp icing sugar
a few drops vanilla essence

Add all the ingredients to a mixing bowl and combine. Whisk the cream till stiff peaks form (be careful not to over-whip the cream).

Extras
Lychees- either fresh or tinned lychees
Raspberries to go inside the cake and on top for decoration
Strawberries for decoration


Assembly:

1. Trim off the outer layer on the chiffon cakes as the brown will show when you slice the cake. In hindsight I should have trimmed literally all the sides and not just the top layer. Make sure both cakes are even and of the same size. Place the base cake layer on a cake board so it saves you transferring the cake later.

 2. Cover the bottom cake layer (I used the rose chiffon as the base) with some creme mousseline.
 3. Add whatever fruit you want in the middle or none at all. I first added a ring of raspberries.
4. Then I filled the centre with some lychees.
5. Pipe some more creme mousseline on top.
6.Smooth over the creme mousseline making sure it enters all the gaps and covers the raspberries on the sides. Place in the fridge whilst you do the next bit so that the creme mousseline hardens a bit.
7. Make a hollow in the middle of the top layer of cake (I used the lychee chiffon for this) which is the same size as the Ispahan jelly container.
8. Carefully add the Ispahan jelly into the hollow. If it the jelly breaks it's not the end of the world, don't worry, it's in the center so people won't notice so much.

9. Place this top layer of cake on top of the base so that it is jelly side face down. Patch up the sides with any left over creme mousseline so that it's even and smooth.
10.Now start adding the rose creme chantilly onto the cake. Spread with a palette knife.
 
11. Keep smoothing it over until it is as perfect as you can get it.
12. Pipe the vanilla creme chantilly onto the cake as a ring of small peaks.
13. Add raspberries on top of the vanilla creme chantilly peaks.
 14. Slice some strawberries and add to the centre of the cake. Serve the cake as soon as you can whilst it's fresh. Otherwise you can put it in the fridge for a few days (I don't know how long as it was all gone in around 2 days), but be warned the strawberries will dry out unless you put a glaze on them.

Sources:
The Pleasure Monger
Evan's Kitchen Ramblings 


A post by Fullest of Life