Who doesn't love a good chocolate cake? And who doesn't love Oreo biscuits? I know that I'm a BIG fan of both! I've found a great and dare I say it 'fool proof' chocolate cake recipe which is simple, moist and reliable. I've made this recipe at least 4 times now in the space of a few months which is saying something! I think that the secret ingredients to this cake are buttermilk, which makes the cake moist, and coffee which brings out the rich chocolaty flavour (you can't taste the coffee in the cake). The finished result from the pictures you can see above was made in 3 stages over 3 days , and you can decide to skip out stage 2 or 3 of course:
1. Make the chocolate cake
2. Add buttercream and cream icing
3. Decorate
One major problem that I came across was the fact that the cake wouldn't fit in the fridge! Our fridge is always packed to the brim and trying to fit a cake in is always a challenge, and we always end up repacking the whole fridge. So bear this in mind and decide on a more suitable sized cake, or try and make it all in one day before you want to serve it, or don't add the whipped cream icing (buttercream filling is fine out of the fridge tough). I'm not going to ask Santa for a new fridge (I don't think it would fit down the chimney), but something I do wish I had is a kitchen aid mixer; it would be so easy to just put everything into one bowl and let the machine do the work. But I guess on the brighter side my biceps definitely benefited from all the whipping and whisking! For all of you who also don't have a kitchen mixer I've proved that you make this cake without it, so no excuses.
I made this cake for a friend's birthday, and I'm glad that there were quite a few people to help finish the cake, however the cake defeated us even tough there were around 15 people. So if you want to make this cake, make sure you have people to share it with, and lots of them for that matter. One last tip for making this cake is to buy an extra pack of Oreo biscuits: you'll definitely be tempted to have 'one or two' biscuits whilst making the cake, and you don't want to end up with the situation where you have none left for the decoration!
Recipe
Ingredients:
Chocolate Cake
3 1/2 cups plain flour
1 cup cocoa powder
4 cups caster sugar
4 tsp bicarbonate of soda
2 tsp baking powder
2 tsp salt
4 eggs
1 cup oil (I used sunflower as it won't affect the flavour of the cake)
2 cups buttermilk (or you can use 1 1/2 cups plain yogurt mixed with 1/2 cup milk)
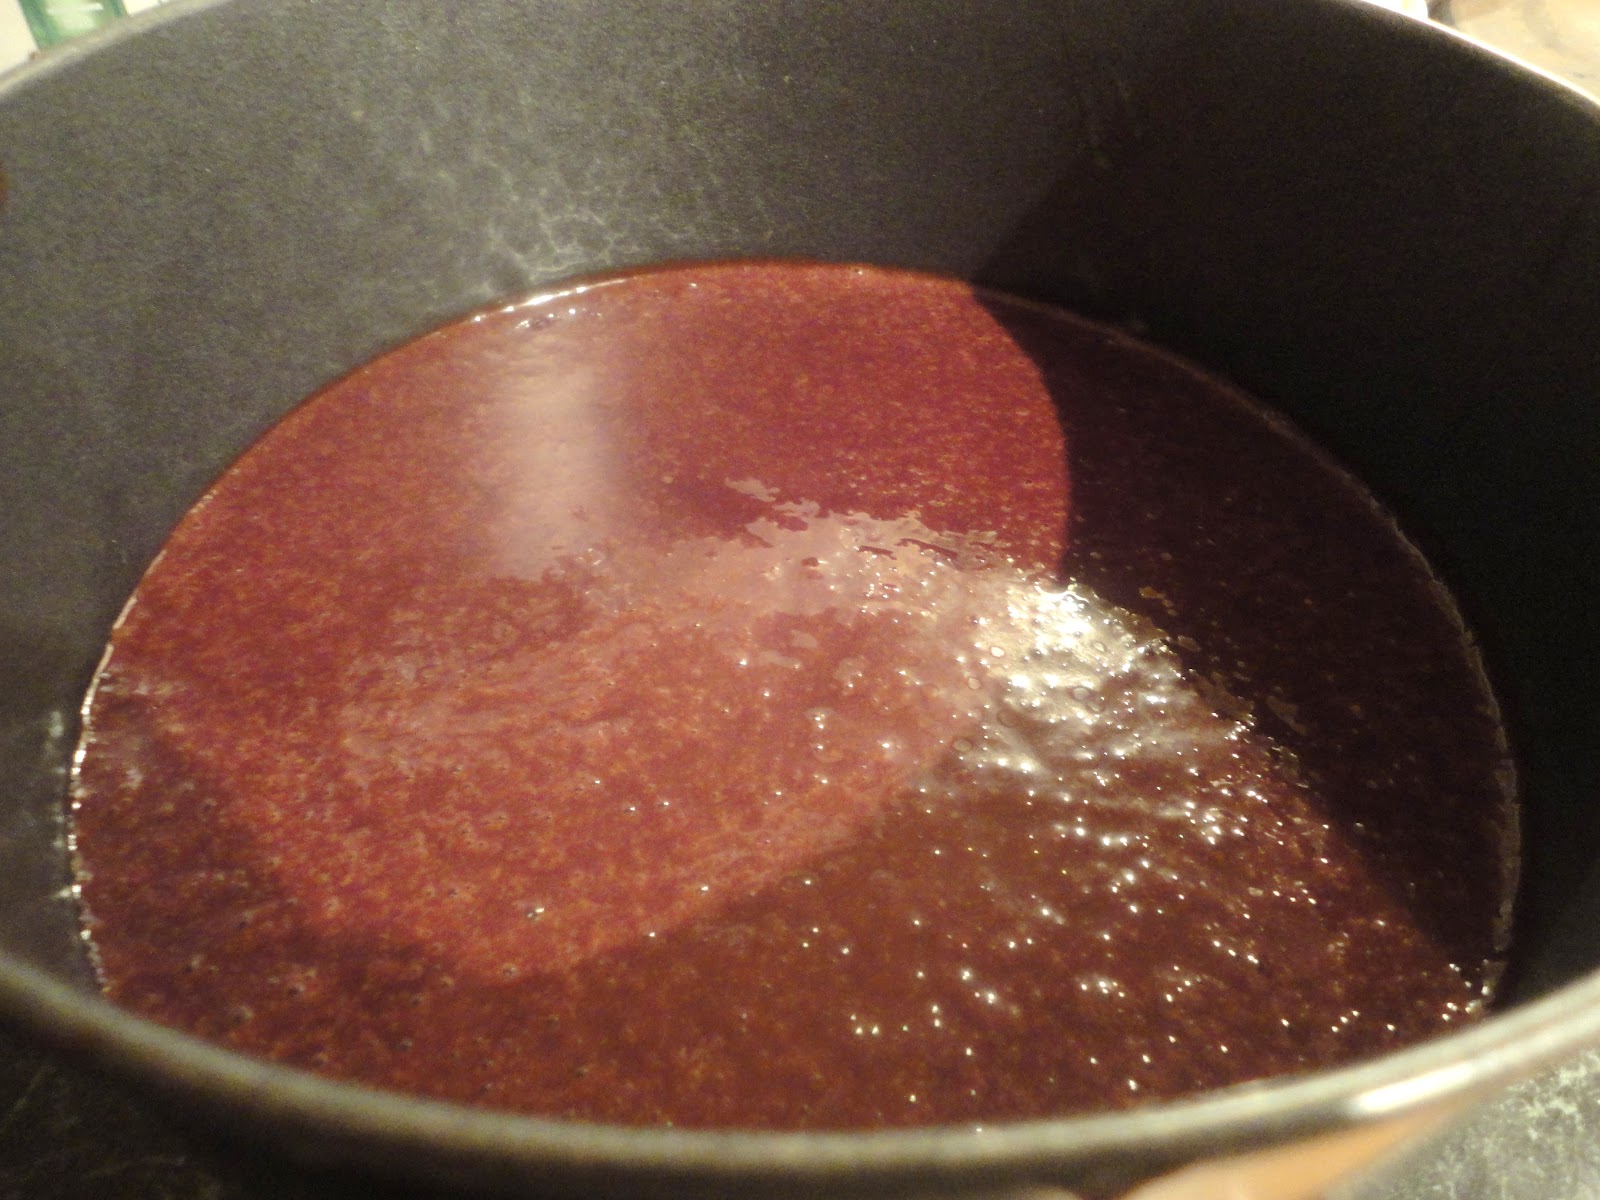
2 cups brewed coffee (use hot water)
Oreo Buttercream Filling
1 1/2 blocks (375g) of unsalted butter at room temperature
2 tsp vanilla bean paste (or use the same quantity of vanilla essence)
4-5 cups of icing sugar (depending on your preference of sweetness and consistency)
1/2 pack (around 7 Oreos) of a 154g packet of Oreos crushed
Oreo Cream Icing
368mls double cream (x2 of 184ml cartons)
1 tsp vanilla bean paste
1/3 cup icing sugar
1/2 pack (around 7 oreos) of a 154g packet of Oreos crushed
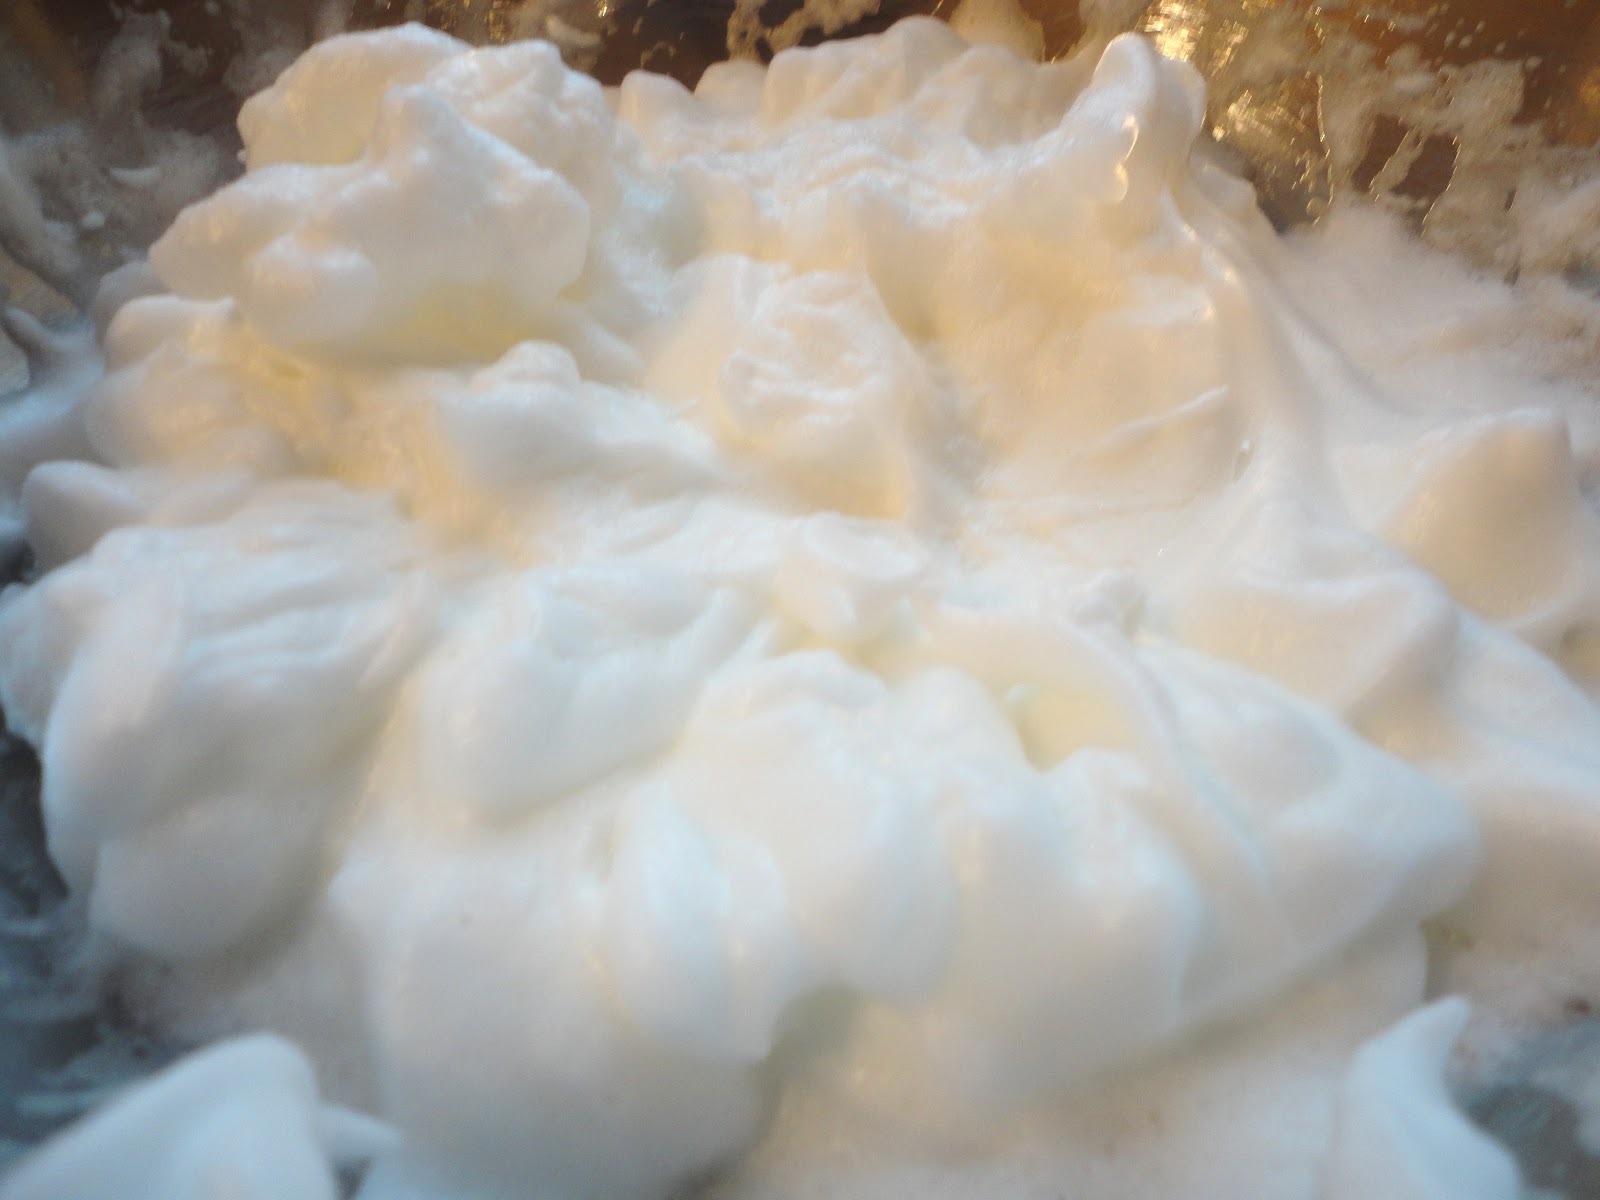
Vanilla Cream Icing Peaks
200mls double cream
3 tbsp icing sugar
1/2 tsp vanilla bean paste
Optional Extras
Oreo biscuits to decorate (you can get mini and regular sized biscuits)
Method:
Chocolate Cake
You can make this cake mixture in 2 batches (just half the recipe for each batch) if like me you don't have a mixing bowl big enough to fit all the ingredients.
1. Preheat the oven to 180C.
2. Combine all the dry ingredients in a mixing bowl and mix well.
3. Mix the oil, buttermilk and eggs together. Slowly add this to the dry ingredients and whisk.
4. Slowly mix in the brewed coffee until the mixture is smooth.
5. Divide the mixture equally into 4 cake tins which have been lines with greaseproof paper (or if you don't have 4 tins just bake in batches)
6. Bake for 35-45mins until a knife stuck in the middle of the cake comes out clean. Allow the cake to cool before handling (otherwise it will fall apart easily).
Oreo Buttercream Filling
1. Beat the butter till it is soft and creamy.
2. Slowly add the icing sugar in batches and whisk into the butter after each addition.
3. Once the right consistency and sweetness is achieved add the Oreo crumbs and blend well.
Oreo Cream Icing
1. In a mixing bowl add the double cream, icing sugar and vanilla bean paste. Whisk till still peaks are just about to form.
2. Add the Oreo biscuits and use a spoon to mix into the mixture (be careful not to over-whip the cream).
Vanilla Cream Icing Peaks
1. Whisk all the ingredients till still peaks form; the 'can you put the bowl over your head?' test.
Cake Assembly:
1. Cut the cake layers till they are all flat and even.
2.Place a layer of cake cake board or plate that you want to present the cake on as it will be difficult to move later on.
3. Spread a layer of butter cream on, then add another layer of cake and repeat process till you end up with a 4-tiered cake with 3 layers of buttercream.
4. Use any remaining buttercream to smooth the sides of the cake.
6. Use a piping bag to pipe the vanilla cream peaks onto the cake.
7. Decorate with Oreo biscuits.
8. Chill the cake till serving.
Source:
Chocolate cake adapted from '
Food and Wine'
A post from Fullest of Life


